
How to change a free course to a paid course
Who can do this: Super Admin, Admin, or Staff with the Platform Settings permission
A course’s price is set by its enrolment modes. Every new course starts with a free mode, Honor. To charge for the course, add a paid mode alongside it.
Before you start
Section titled “Before you start”Connect a payment gateway so learners can pay.
Step 1: Open the course, then under CONFIGURE click Settings.
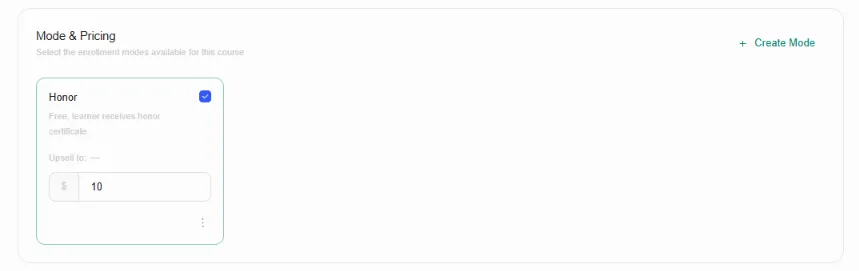
Step 2: Scroll to Mode & Pricing.
Each existing mode appears as a card. If the course has none yet, you’ll see No enrollment modes yet.
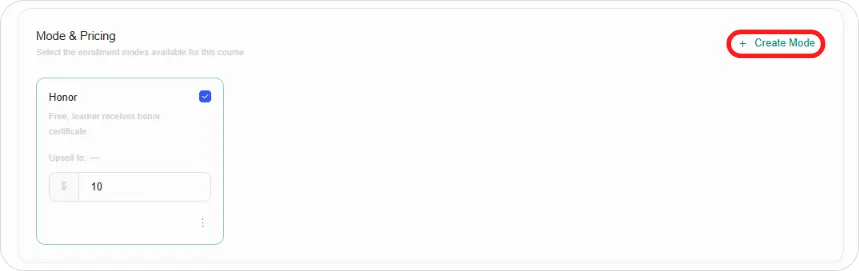
Step 3: Click + Create Mode.
The Create enrollment mode window opens.
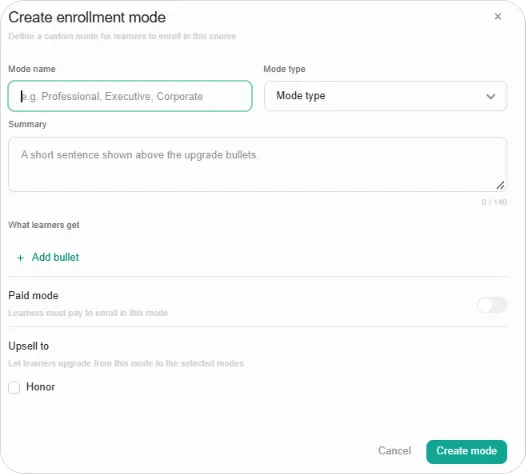
Step 4: Fill in the details:
| Field | What to enter |
|---|---|
| Mode name | The name learners see, for example Professional, Executive or Corporate |
| Mode type | Honor, Verified, Professional or No-ID-Professional |
| Summary | A short sentence shown above the list of what learners get. Up to 140 characters |
| What learners get | Click + Add bullet for each benefit, for example “Verified certificate” or “Access to live sessions” |
Step 5: Switch on Paid mode, then enter the price.
Step 6: Under Upsell to, tick any modes learners in this mode can upgrade to. Leave it blank if there’s nothing to upgrade to.
Step 7: Click Create mode.
The new mode appears as a card beside Honor, showing its price.
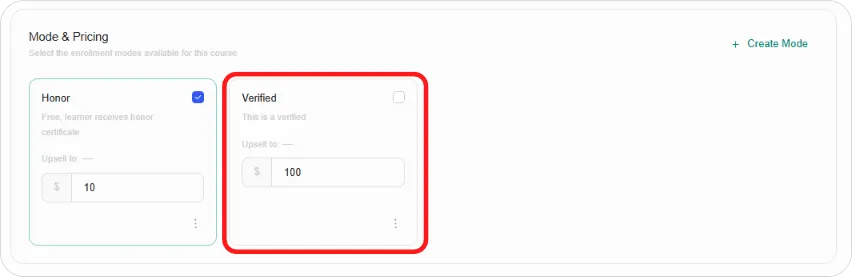
Step 8: Click Save changes.
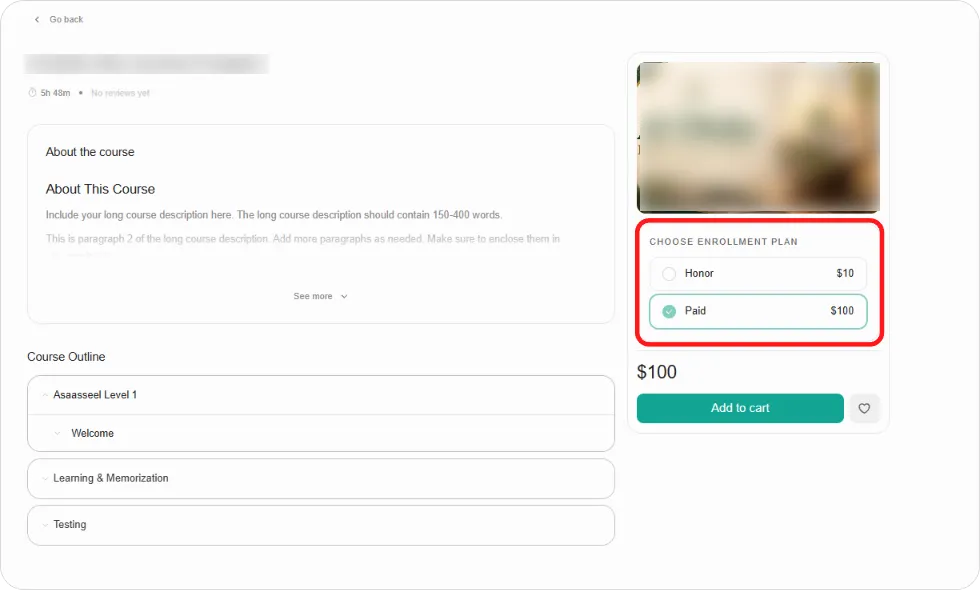
Learners now see both modes under Choose enrollment plan on the course page, with what each costs and includes.
Tip: To encourage free learners to upgrade, edit the Honor mode from its ⋮ menu and tick your paid mode under Upsell to. Learners on the free mode will then be offered the paid one.
Tip: Write the What learners get bullets as benefits, not features. “A certificate you can share with employers” persuades more people to pay than “Certificate included”.
Note: Once a course has a paid mode, you can also charge a recurring fee instead. See the Subscription setting, which needs a paid mode before it can be used.