
How to bulk import users with a CSV file
Who can do this: Super Admin, Admin, or Staff with the User Management permission
Add many users at once by uploading a spreadsheet of email addresses. Everyone in a single upload is given the same role, so run one upload per role.
Step 1: Go to Users > All.
Step 2: Click + Add user at the top right, then choose Upload CSV file.
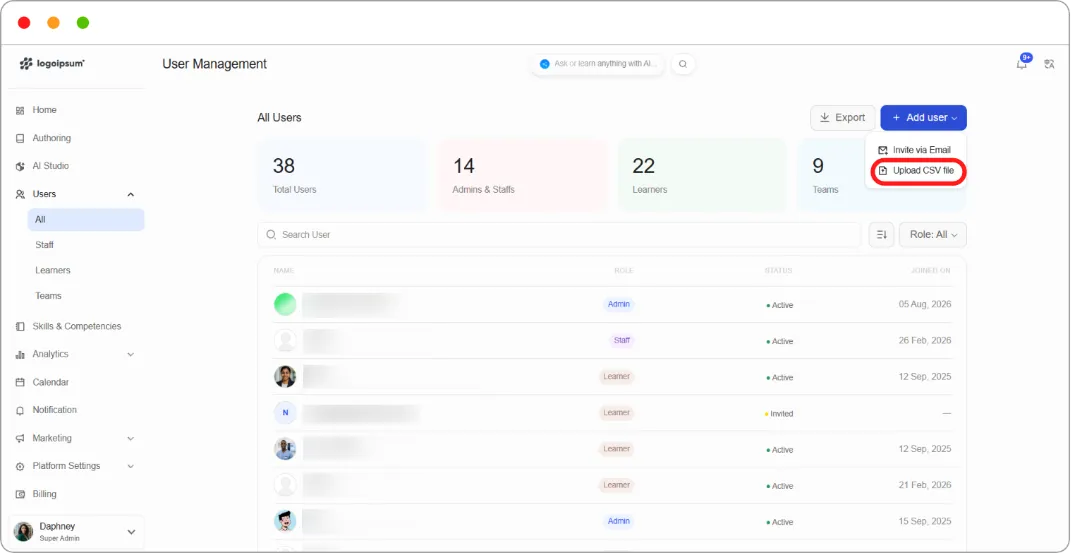
Step 3: Set User role to the role everyone in this file should have.
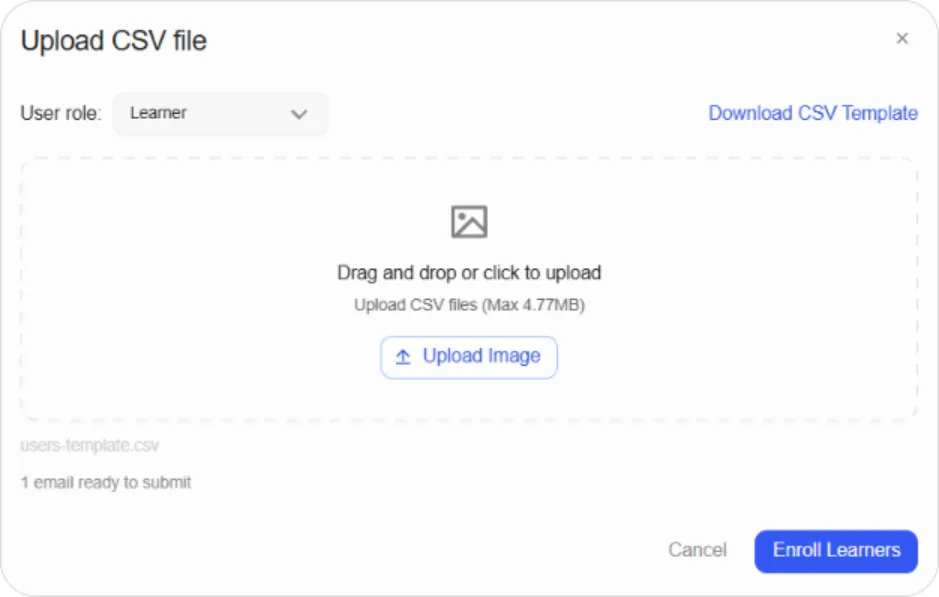
Step 4: Click Download CSV Template.
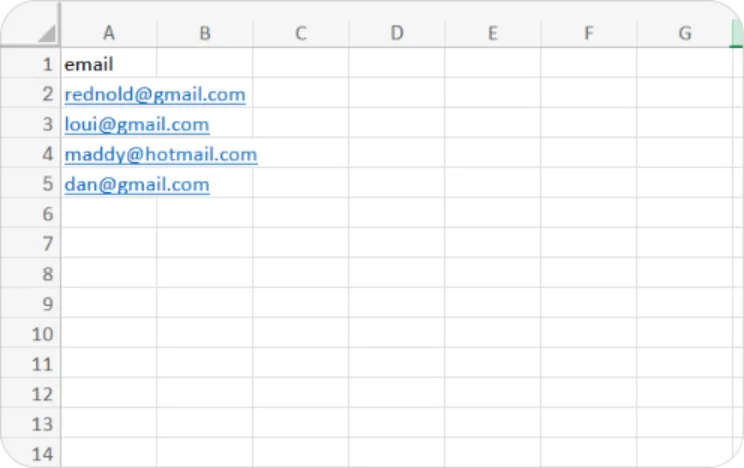
Step 5: Open the template and fill it in. It has a single column:
| Column | What to enter |
|---|---|
| One email address per row |
Replace the sample address in row 2 with your first real address, then add one row per person. Leave the email header in row 1 exactly as it is.
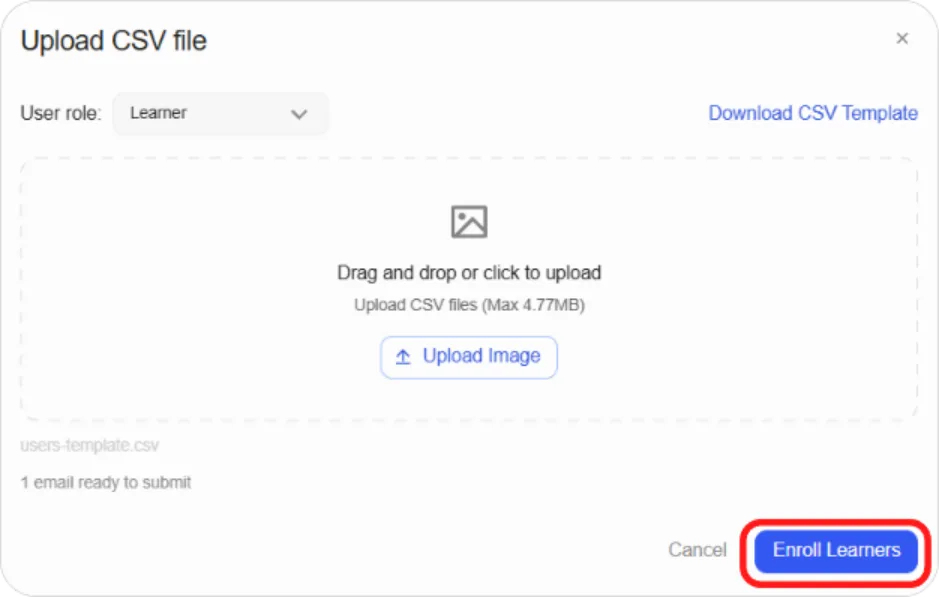
Step 6: Save the file and drag it onto the upload area, or click to browse. Files can be up to 4.77 MB.
Step 7: Confirm the upload.
Everyone in the file appears in your user list with the status Invited. Their JOINED ON column stays empty until they accept.
What the template does and doesn’t collect
Section titled “What the template does and doesn’t collect”The template only collects email addresses. Names and other profile details are not imported: each person fills those in when they accept their invitation and set up their account.
Note: The role is set once for the whole file. To add staff and learners at the same time, run two separate uploads with the role changed between them.
Tip: A 4.77 MB limit is thousands of email addresses, so file size is rarely the constraint. If a large upload fails, the cause is more likely a formatting problem than size.
Tip: Run a test with two or three addresses before uploading hundreds. It’s much faster to spot a problem on a small file, and the test users can be blocked afterwards if you don’t want them.